
When you activate the WooCommerce Barcode Plugin, barcodes will automatically be generated and displayed on the Single Product Page. You can customize the appearance and placement of the barcode through the plugin settings.
📌 Steps to Add and Customize the Barcode on the Product Page #
-
Activate the Plugin
After activating the plugin, barcodes will automatically appear on your Single Product Page. -
Navigate to Barcode Settings
Go to your WordPress Dashboard and visit WOO Barcode > Barcode Settings. -
Click on the Display Settings Tab
Find and select the Display Settings tab to customize the barcode on your single product page.
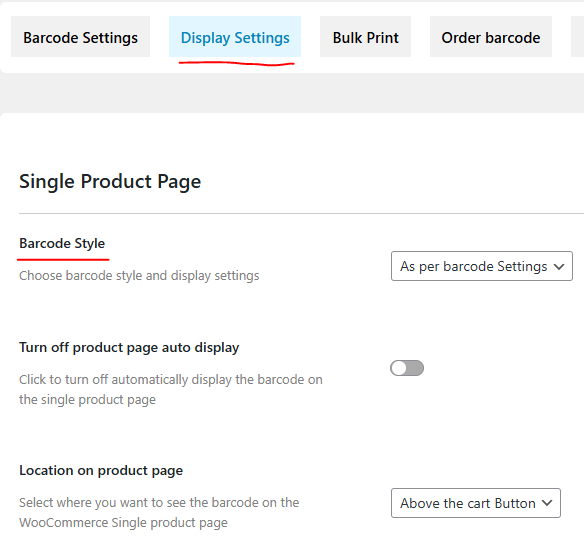
Barcode Style #
Choose how the barcode will appear on the Single Product Page.
| Option | Description |
|---|---|
| Minimal | A simple and basic design for the barcode, ideal for a clean and minimalist layout. |
| As per Barcode Settings Page | The barcode will follow the same design settings configured in the Barcode Settings page. |
Add Barcode Label #
When you select the Minimal design for your barcode style, you can enable the Barcode Label to display a prefix text alongside the barcode.

Turn Off Auto Display on Product Page #
If you prefer not to display the barcode automatically on the product page:
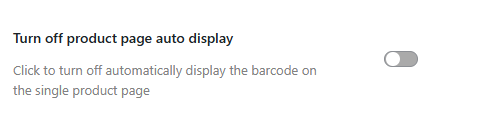
-
Turn off Auto Display: Click the switcher to turn it blue, then click Save.
-
This will stop the barcode from displaying automatically on the Single Product Page.
Location on the Product Page #
Choose where you would like the barcode to be displayed on the product page. There are four options available:

| Option | Description |
|---|---|
| In a Tab | The barcode will appear as a separate tab on the product page. |
| End of Product Meta | The barcode will appear after the product meta (tags, categories, etc.). |
| Below the Cart Button | The barcode will be displayed directly below the Add to Cart button. |
| Above the Cart Button | The barcode will be displayed directly above the Add to Cart button. |

Download Button #
If the Minimal Design is not selected for the barcode, you can add a Barcode Download Button to the product page.
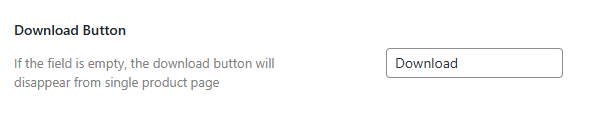
-
If the text field for the download button is left empty, the button will not appear on the product page.
Shortcode for Single Product Page #
Use this shortcode to manually display the barcode on any Single Product Page:
Simply place this shortcode within your page content to display the barcode where needed.
Barcode for WooCommerce Variable Products #
For Variable Products, the barcode will automatically update and display based on the selected product variation. If a customer selects a different variation, the barcode will change accordingly.
How to Apply These Changes #
-
Go to WOO Barcode > Barcode Settings in your WordPress Dashboard.
-
Open the Display Settings tab.
-
Configure the barcode style, position, and other settings.
-
Click Save Changes to apply your settings to the Single Product Page.


