
📥 Plugin Installation #
To install the WooCommerce Barcode Generator plugin, follow these steps:
1️⃣ Install the Plugin #
- Log in to your WordPress site’s Admin Dashboard.
- Navigate to
Plugins→Add New. - Click the Upload Plugin button at the top of the page.
- Click Choose File and select the plugin
.zipfile you downloaded. - Click Install Now.
- After installation, click Activate Plugin.


2️⃣ Access Plugin Settings #
Once activated, you will see a new menu item or notification.
Click on the Settings link (marked in red in the plugin list) to open the plugin configuration page.
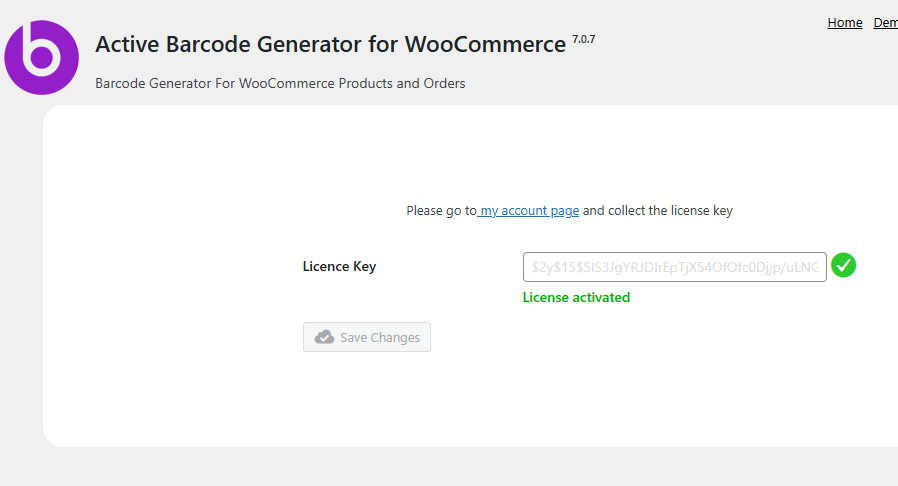
🔑 Activate License #
To unlock premium features, you’ll need to activate your license key.
Step 1: Retrieve Your License Key #
- Go to the My Account page on the plugin website.
- Log in with your account credentials.
- Navigate to the My Account section.
- Locate and copy your License Key.


Step 2: Enter the License Key #
- In your WordPress Dashboard, go to the plugin’s Settings page.
- Click on the License tab.
- Paste your copied license key into the provided field.
- Click Save or Activate License.
✅ Your plugin is now activated and ready for use!
🎉 Done! #
You’ve successfully installed and activated your WooCommerce Barcode Generator Plugin. You can now access all features and barcode generation settings through the plugin’s settings page.


